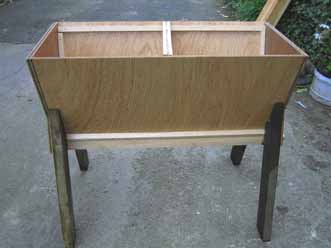
An interesting way to keep bees, which is claimed by many people to be far superior to the movable frame hive. After many a long and sometimes, heated debate on the British Beekeepers Forum I decided to have one built and try it, writing a report as I went. The hive was made out of pine and exterior plywood, with some fenceing rail off cuts for legs .Quickly and reasonably cheaply made, I chose to have the hive made to my own specification, i.e the right height, to avoid too much bending, and very roomy, as the bees I have need a lot of space. A large entrance at the front and another one at the back, which can be blocked off with mesh in winter if necessary, but leaving plenty of ventilation.
The roof was made out of some left over pine boards, I would have preferred a pitched roof , but it would have been too awkward and heavy for me. I shall just have to give it some extra protection in the winter. One thing on the plus side I have found it doubles up very well as table for a thirsty beekeeperĺs cup of coffee!.
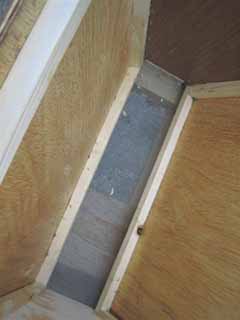
An open mesh Varroa floor and diagnostic tray underneath. The dummy board can just be seen in the bottom left hand corner. I will move this about as the colony grows just as in a conventional hive.
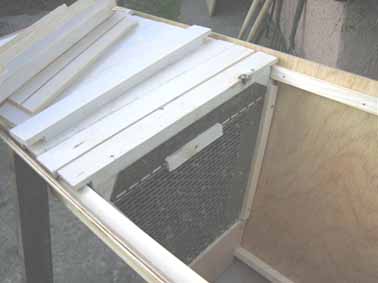
Queen excluder and new bars, with groove cut in them to take a strip of foundation. The Queen excluder was made from an old, damaged one, easily cut to shape with tin snips.
.
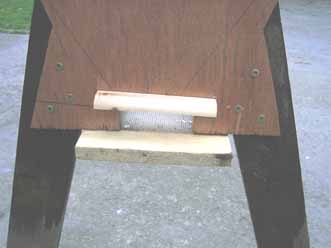
I wanted an extra large main entrance so bees have plenty of room for coming and going, but I shall have to be very careful when Wasps are flying and reduce the size of the opening.
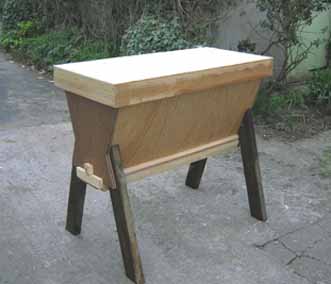
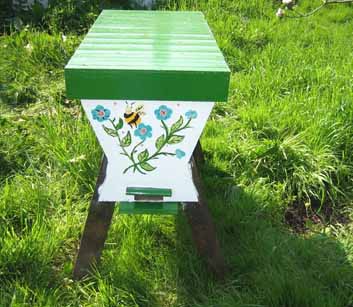
The hive now ready for treating with preservative and then painting and moving to the Apiary. It is quite large and difficult to move so it will stay in the home Apiary permanently.
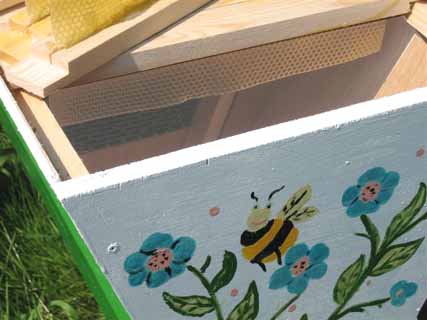
I couldnĺt resist a bit of decoration just for fun, but now it is time now for the serious work of preparing the Top Bars.
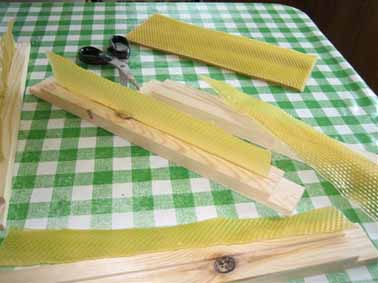
One sheet of unwired foundation cut in half does two bars. I placed the foundation in the groove, cut into the underside of the Top Bar and trickled a little melted beeswax into it to keep the sheet in place. The whole hive was done with 9 sheets of foundation making it very much cheaper! The Bees should start to build a natural honeycomb using the strips as a base.
Top Bars in place and now the new hive is ready for itĺs first occupants.